Article Introduction
It is very bad to encounter a broken pipe in life. If it is not handled, it will lead to continuous loss of water, resulting in waste of resources and safety issues for people’s water use. It is particularly important to repair the broken PVC pipe in time.
Please read the following article carefully to clearly know how to properly repair broken PVC pipes, as well as your options for purchasing PVC pipes and fittings !

The correct procedure for removing a cracked PVC pipe
- Turn off your water supply. Since you’ll be cutting out the old section of pvc pipe, you don’t want any water flooding your workspace.Your shut-off valve could possibly be in the crawl space or basement of your home.
- Saw off the broken section of PVC pipe. Measure how long the crack in your pvc pipe is. Add 1 in (2.5 cm) to each side, and cut off this entire length with a ratchet cutter or hacksaw. This helps ensure a thorough, sturdy repair.
As you remove the piping, some leftover water might leak out, even if the water lines are shut off. That’s perfectly fine—just blot it with a clean towel.
A PVC cutter is a great way to cut your pipes, but a simple hacksaw also works just fine.

The correct steps for repairing and connecting PVC pipes
- Sand the exposed ends of the original PVC pipes with 100- to 220-grit sandpaper. Keep buffing the surface until it feels mostly smooth. This process may seem a bit excessive, but it makes it easier to fit and install a new piece of pipe.
- Cut a new section of PVC pipe. Measure between both cut ends of the PVC pipe. Using this measurement, cut a new section of PVC pipe that’s about the same size as the pipe you just removed. Cut this new section of pipe so it’s a few millimeters smaller than the gap—this way, you can slide the new pipe into the fittings easily.
You could also measure the old piece of PVC that you just cut off. - Grab 2 straight PVC pipe coupling joints and file one down. Most PVC pipe fittings have a groove or “stop” along the inside, which helps hold the pipe fittings in place. Grab a half-round file and sand down this groove, so your fitting slides easily onto the pipe without stopping.
Removing the inner groove offers a bit more flexibility as you install a new section of pipe. - Attach the first fitting with PVC solvent and cement. Spread a layer of PVC solvent along 1 of the exposed ends of your old PVC pipe. Then, spread a layer of PVC cement on top of the solvent. Slip the fitting onto 1 of the exposed ends of the original PVC. Hold it in place for about 15 seconds.
PVC solvent helps prep the pipe for the glue. - Prep both ends of the new pipe section with PVC solvent. Coat each pvc pipe in 1 in (2.5 cm) sections along both ends, so the cement holds well.
- Apply cement to the inside of the fitting and 1 end of the new PVC pipe. Coat the cement all over the PVC solvent, along with the inside of the fitting. This helps ensure that your glue is really secure.
- Secure the pvc pipe into the fitting and let it set for 10 seconds. Slip the pipe completely into the fitting. Give the pipe a small twist, so the glue holds inside the pipe. Then, hold the pipe in place for 10 seconds.
- Mark where the second PVC fitting will go. Hold the new section of PVC pipe so it’s snug against the original PVC. Align the center of the unused, filed fitting next to where these 2 pipes meet. Mark off where the end of the PVC fitting lines up along the old section of PVC pipe, so you have a reference point.
Since you’ve sanded this fitting down, there are no grooves to automatically “stop” the coupling from sliding too far down the pipe. This mark helps you know how far the new fitting needs to slide onto the old piping. - Apply PVC solvent on the exposed end of the old pipe and inside the second fitting. As you did before, spread the solvent over the bottom 1 in (2.5 cm) or so of the pipe. Then, grab the fitting that you filed down earlier and spread the solvent around inside, so the glue will hold really well.
- Spread cement along both ends of the PVC pipe. Grab your PVC cement and spread it over the PVC solvent. Don’t put any inside the fitting—you’ll have enough on the ends of your pipes.
- Install the new section of PVC pipe. Slip the fitting along the new section of pipe first. Then, slide it onto the old, original PVC piping. Continue pushing and sliding the fitting up and down until it lines up with the reference point you drew earlier.
- Hold the pvc pipe in place for 10 seconds to make sure it stays put.Then, wait about 15-30 minutes for the adhesive to dry completely before turning your water back on and using your pipes again.
Conclusion
Repairing PVC pipe leaks in your home is a relatively simple process, although the permanent fixes are a little more involved and might be too intimidating for some homeowners. If you’re ever uncomfortable cutting into your pipes or can’t access the leaking area easily, we recommend hiring a professional plumber to come in to do the repair for you.
We suggest you get estimates from a few different plumbers for the work to find the best deal. You can also save some money by purchasing the supplies yourself, as plumbers typically upcharge supplies for the convenience they provide.

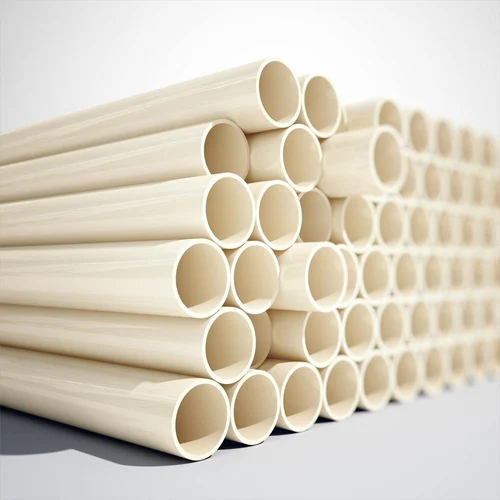
If you want to purchase or learn more about PVC pipes and fittings, you can consult SAM-UK staff to obtain more relevant information.
About SAM-UK
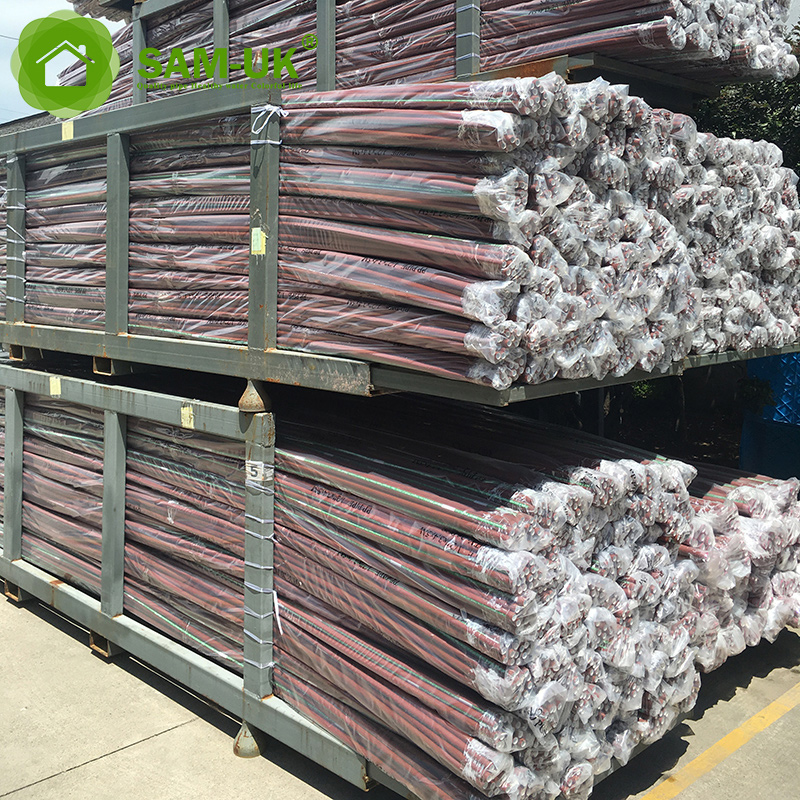
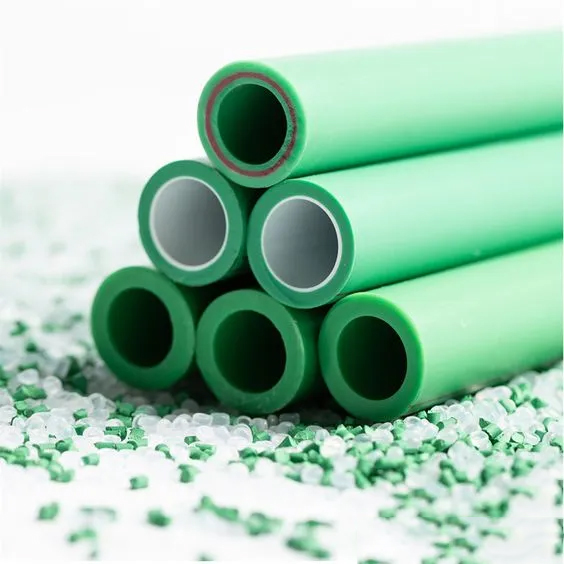
SAM-UK are a professional 18+ years manufacturer in producing vinyl building profile products and PVC , CPVC , PPH , PPR , PP pipes and pipe fittings, valves, taps and so on. We own the certificates of SGS\SONCAP\ISO9001\CE\NSF,support color /size customization. Welcome to consult for Catalog and Product. you can contact us at email [email protected]